7.1 Creating a Rough Cut
What you're creating: A clean first pass — false starts, dead air, and idle moments removed, one clear action per shot.
Remove false starts, hesitations, and dead air
Cut out UI loading waits or idle mouse wandering
Stick to one action per shot — every cut should clearly answer: what changed on screen?
7.2 Using Padding
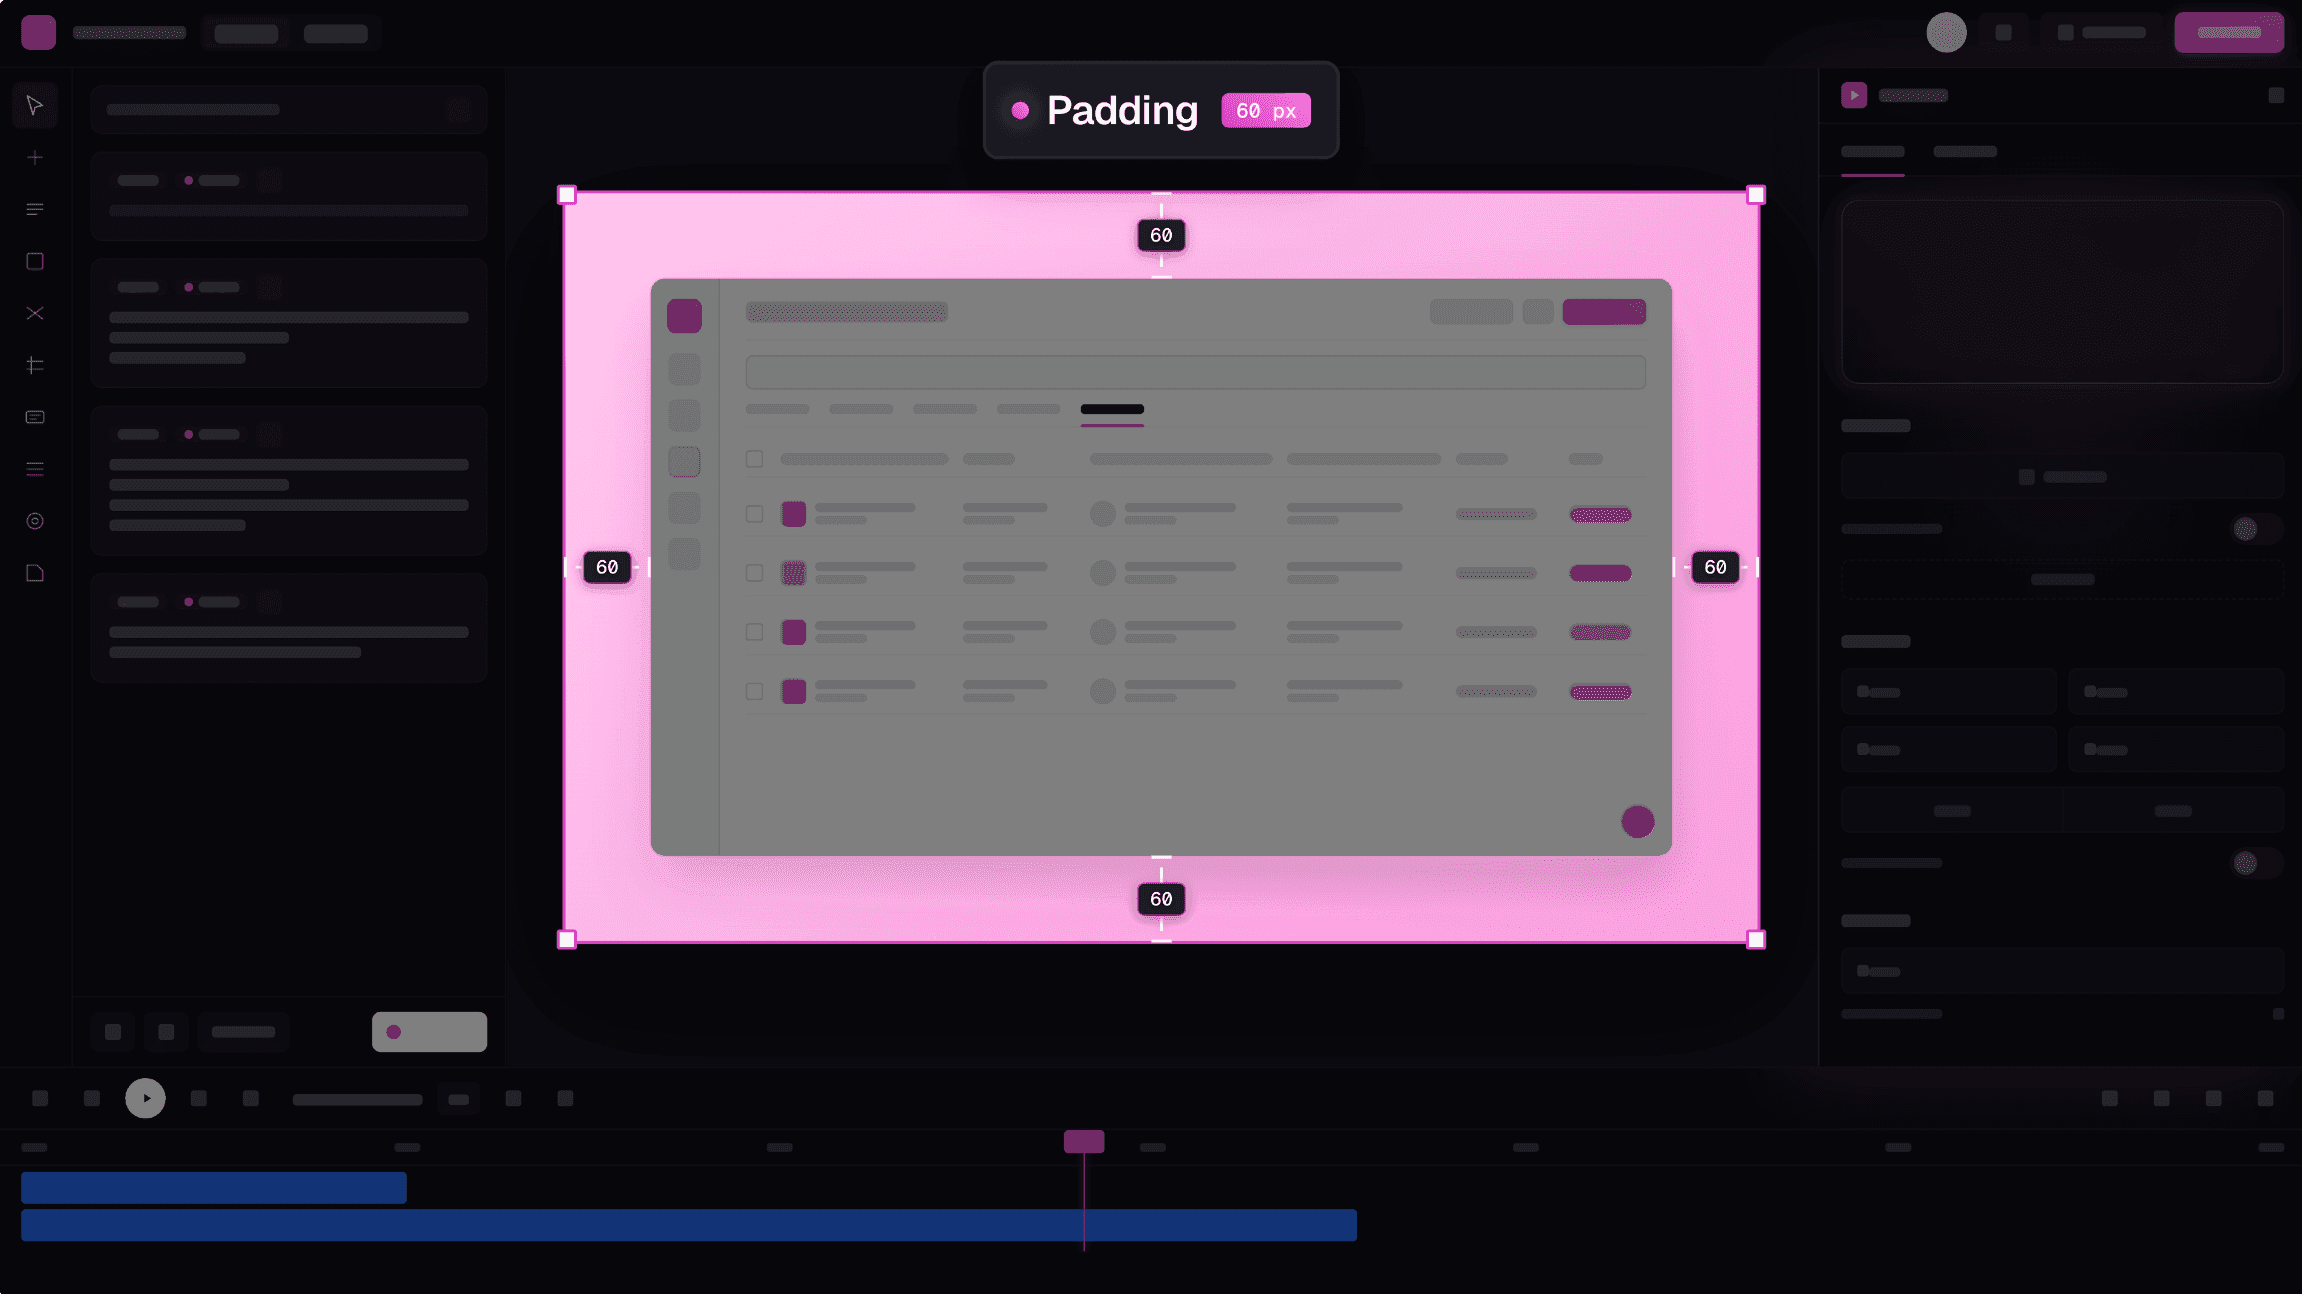
What you're creating: A padded frame around your footage — protecting content from cropping and giving breathing room for callouts, subtitles, and PiP.
Add a soft background and padding layer around your screen capture, especially if recording at a fixed region or window size
Recommended: 6% padding on all sides — this protects content from being cropped by video players, platform previews, or responsive layouts
It also gives breathing room for callouts, subtitles, and PiP frames
7.3 Adding Backgrounds
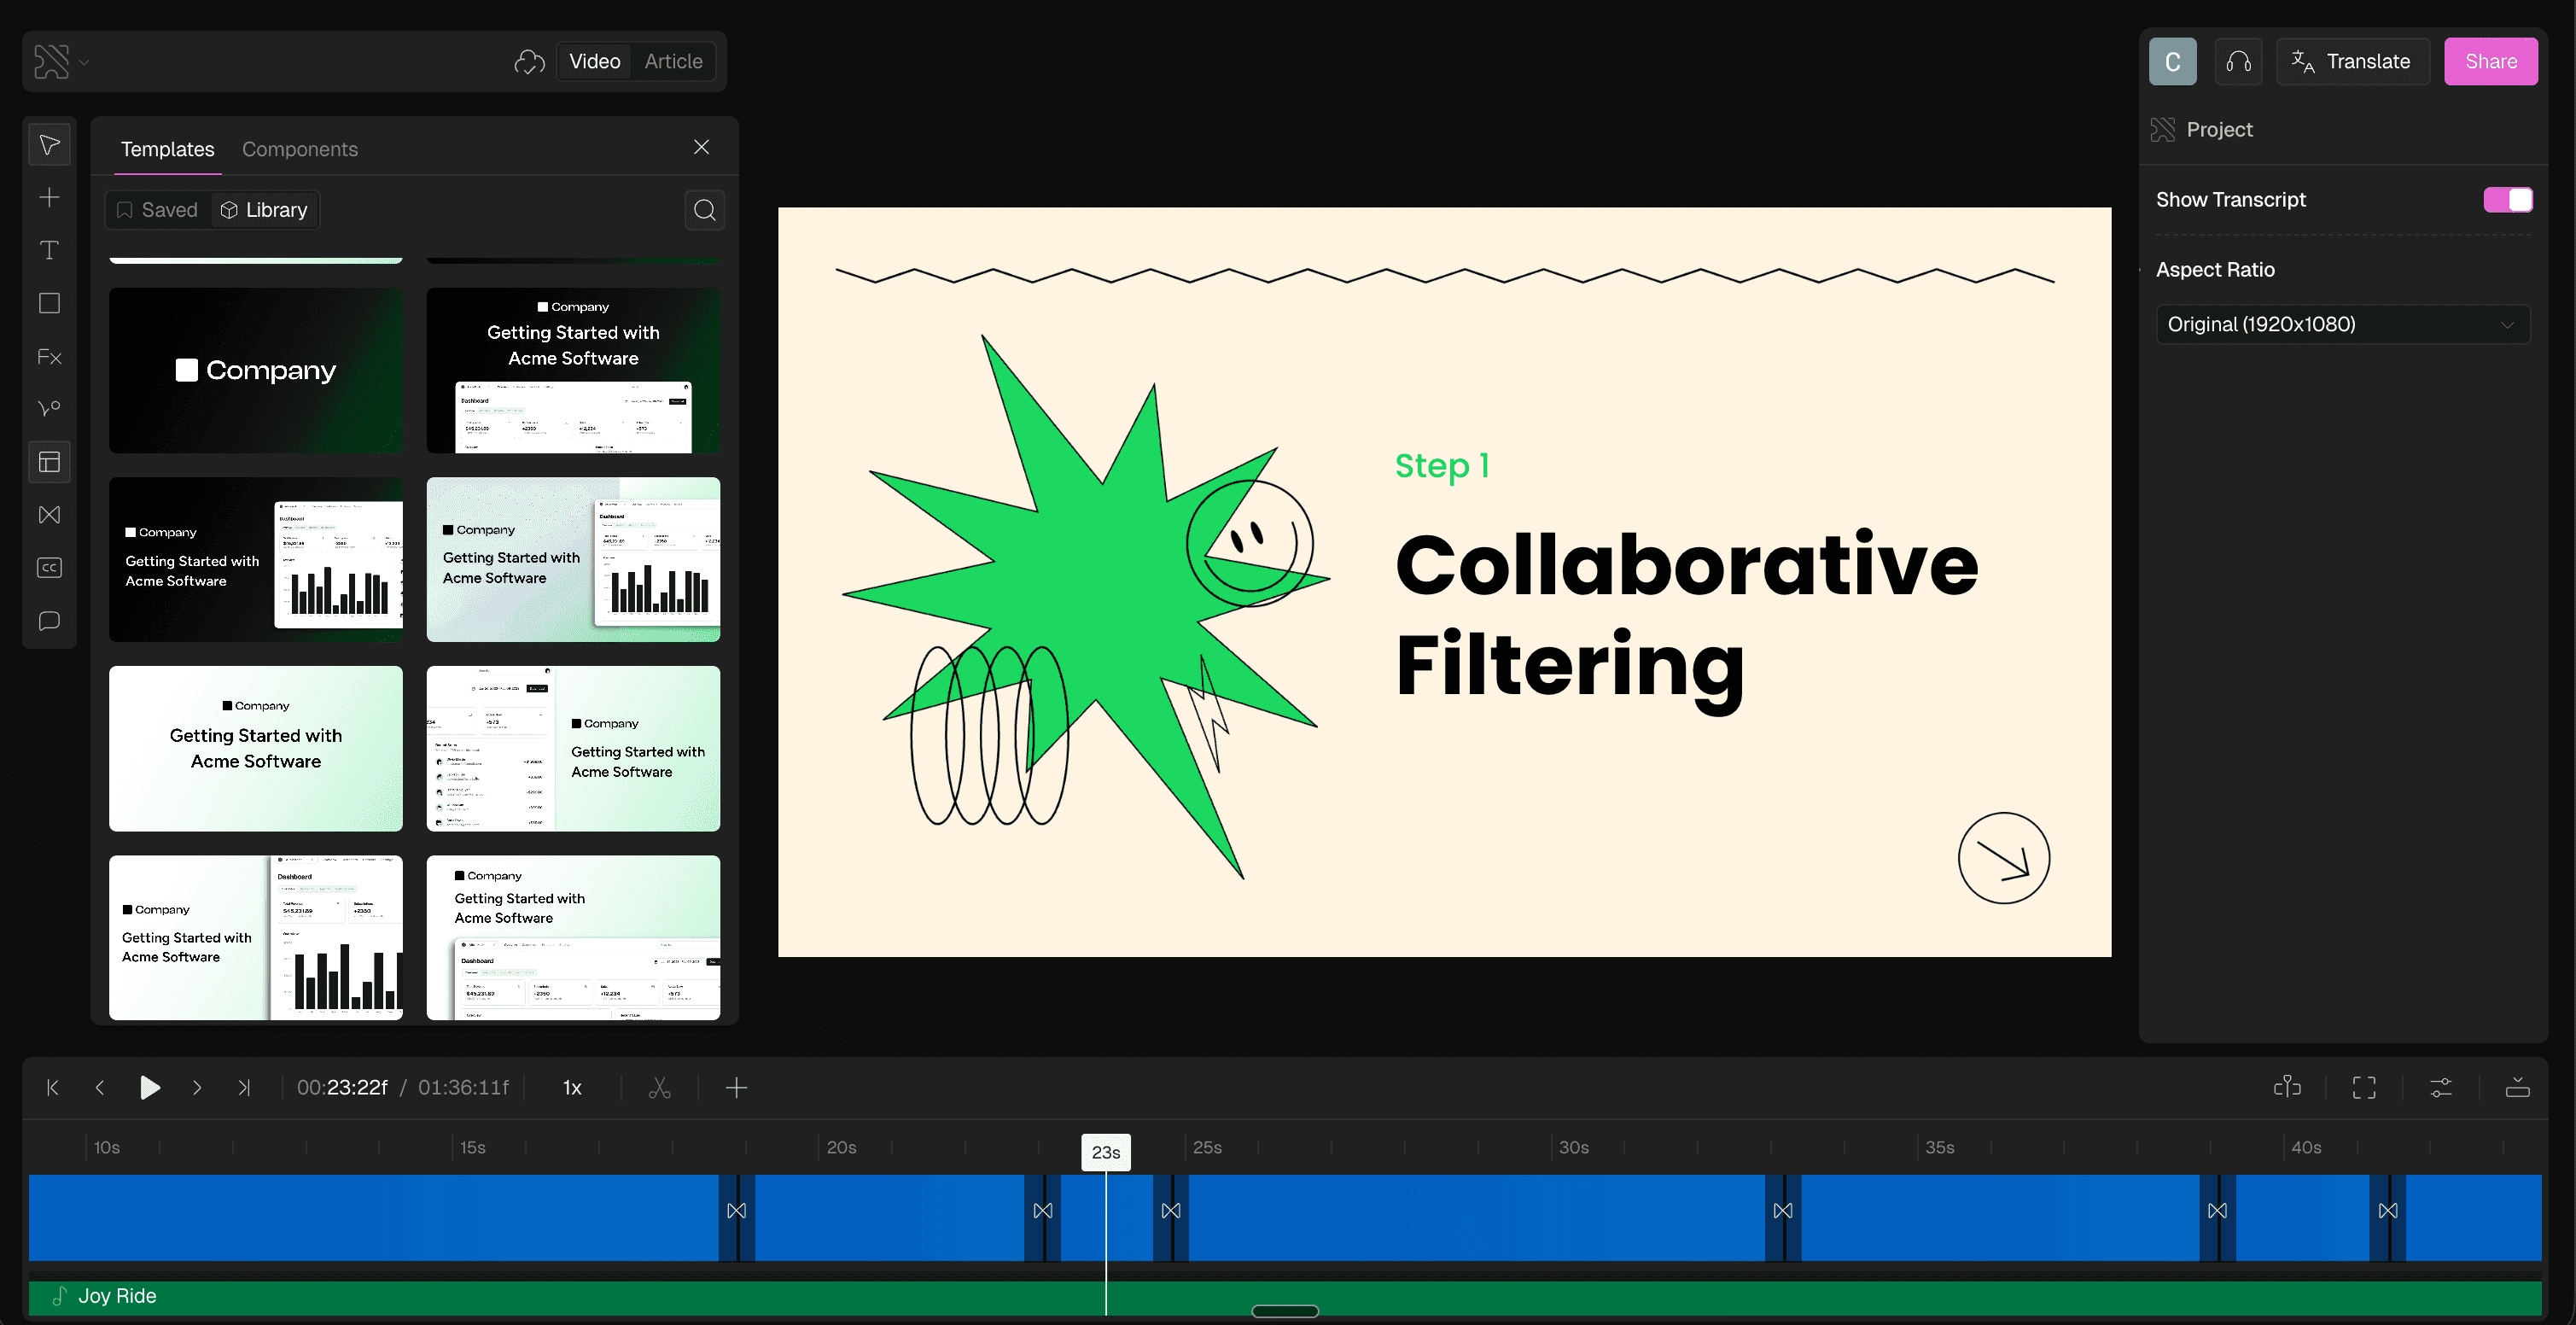
What you're creating: A consistent branded background behind your padded footage — mid-tone, low-contrast, and part of your visual signature.
Use a brand color but keep it clean: choose mid-tone or desaturated versions of your palette to avoid clashing with the UI
Avoid bright backgrounds that compete with the focal content
Gradients, soft textures, or blurred screenshots can work — as long as they stay low-contrast
A consistent background becomes part of your visual signature, especially in a video grid
7.4 Pacing
What you're creating: A brisk, intentional flow — dead air tightened, deliberate beats preserved, and J-cuts/L-cuts used for smooth transitions.
Tighten dead air using ripple deletes (auto-closing gaps)
Leave 250–400 ms of space after clicks or key moments before zooms, highlights, or overlays — this gives viewers a beat to process before you move on
Use J-cuts and L-cuts for smoother momentum in step transitions:
- J-cut: start the voiceover before the visual changes
- L-cut: let the video linger after the voiceover wraps
7.5 Continuity & Clarity
What you're creating: A polished, glitch-free edit — micro-movements trimmed, freeze frames used on information-dense screens.
Trim micro-movements — if the cursor drifts slightly between clicks, cut those frames
Use freeze frames (0.5–1.0 seconds) on screens with dense info — like settings menus or export panels — to give viewers time to read without pausing the video
7.6 Adding Text & Labels
What you're creating: On-screen labels that reinforce the voiceover — short, high-contrast, consistently placed.
Keep labels to ≤6 words
Use sentence case (not all caps)
Use high contrast: e.g., white text on a dark semi-transparent background
Avoid uppercase blocks — they're harder to read, especially on mobile
Use labels to reinforce settings, highlight actions, and call attention subtly — same font, same size, same area of the screen throughout