
Connect your Figma designs into Weave
A silent 31-second screen recording that opens on a title card, pulls a Figma Instagram Story frame into a dark node canvas, wires image and text inputs into it, and ends on the Figma and Weave logos linking up.
By Figma
A prompt to start from
Paste it into Clueso or any MCP client to recreate this video. The link to it comes with the copy.
Create a silent screen-recording tutorial showing how to use the node connection feature in Figma to link any frame. Open with a Figma workspace displaying an Instagram Story template that reads "CHANGE THIS" with bold typography on a light blue card, set against a green meadow background image. Show a right-click context menu appearing repeatedly on the frame as the cursor navigates options, then cut to the Figma plugin or connections panel on a dark interface revealing linked image nodes and logomark components. Keep the video short, unnarrated, and edit with clean cuts between close-up UI states to demonstrate the workflow step by step.
How it’s put together
One frame per shot, with what is said over it.
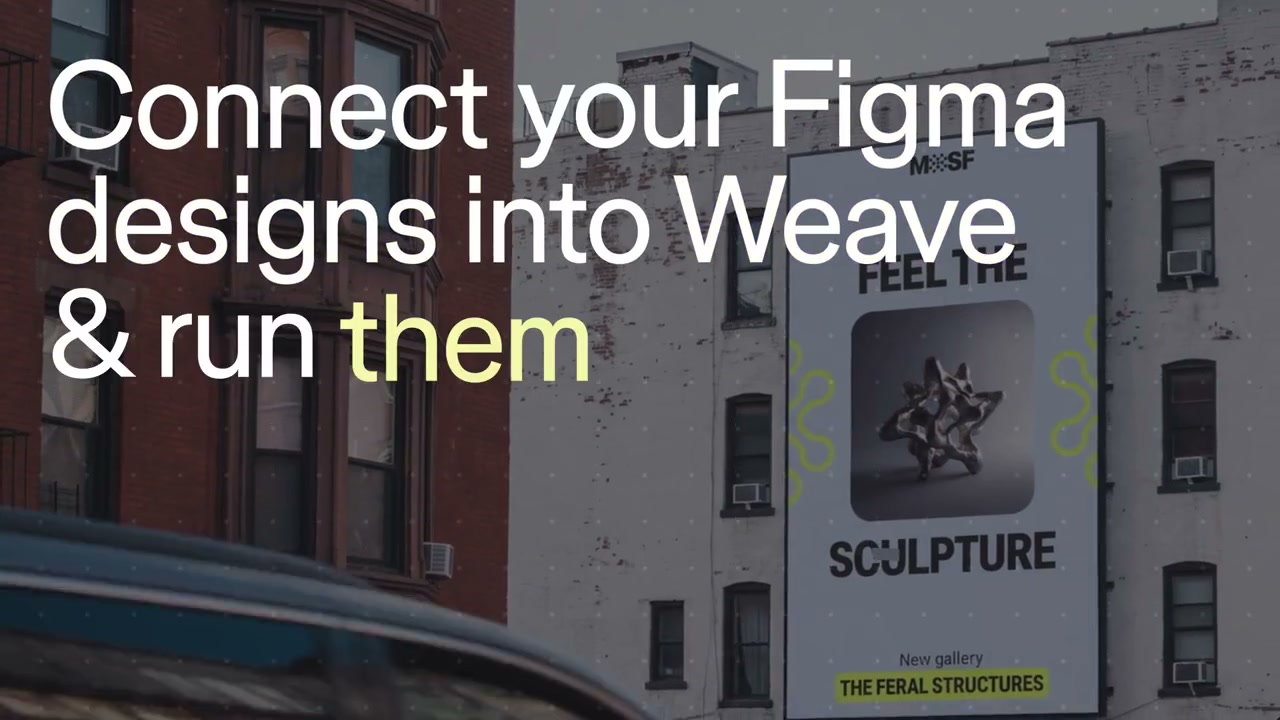 0:01
0:01Title card reading "Connect your Figma designs into Weave & run them" over a photo of a billboard.
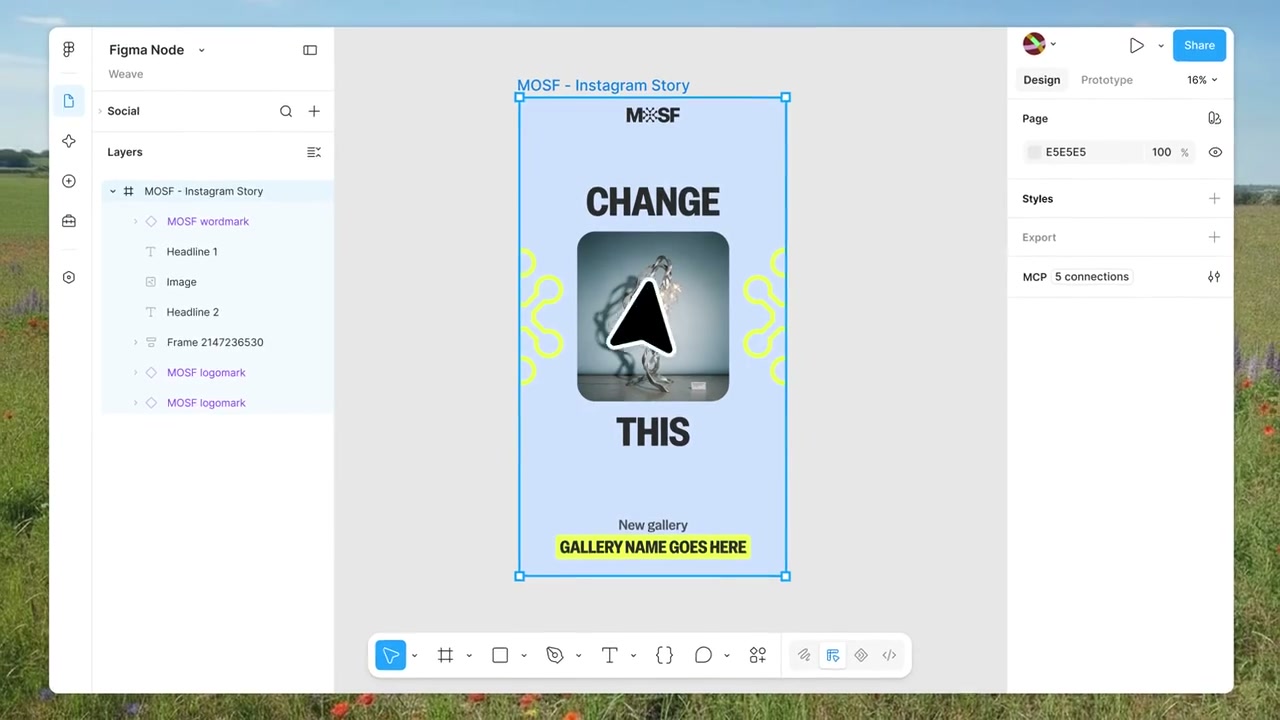 0:04
0:04A design file is open with an Instagram Story frame that reads "CHANGE THIS" and a layers panel on the left.
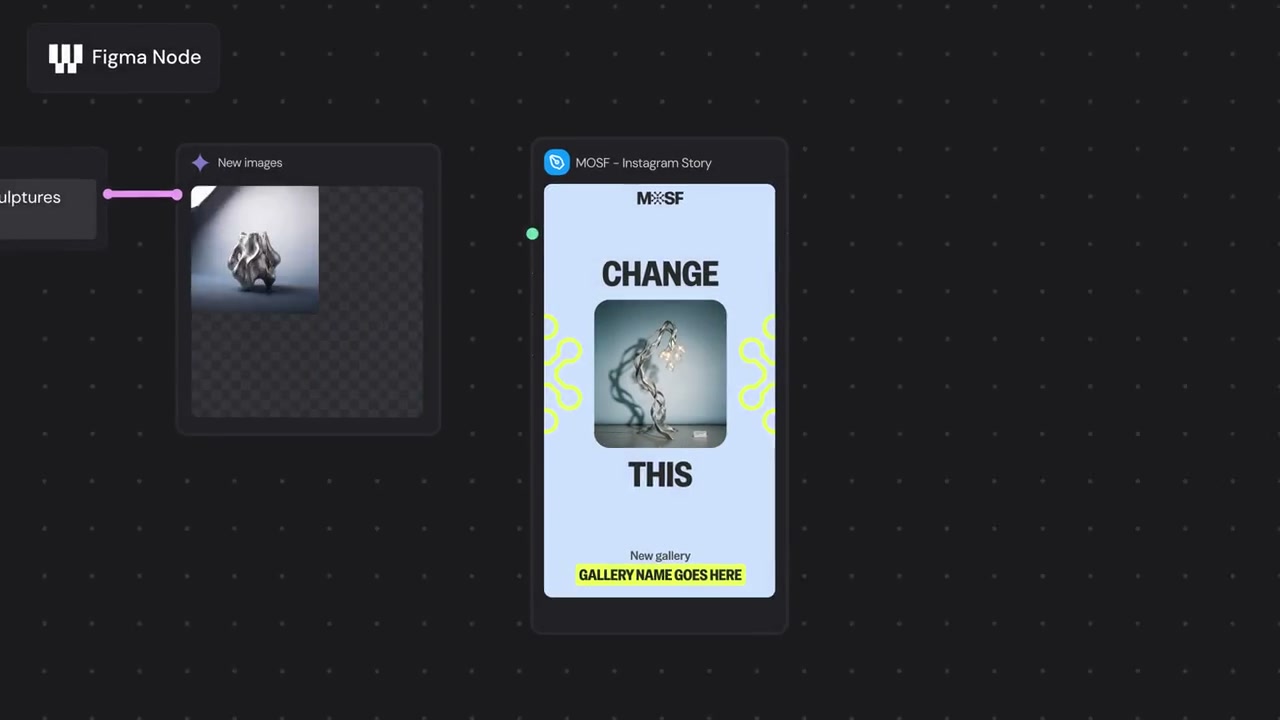 0:12
0:12The same frame now sits on a dark node canvas, wired to an image node by a green cable.
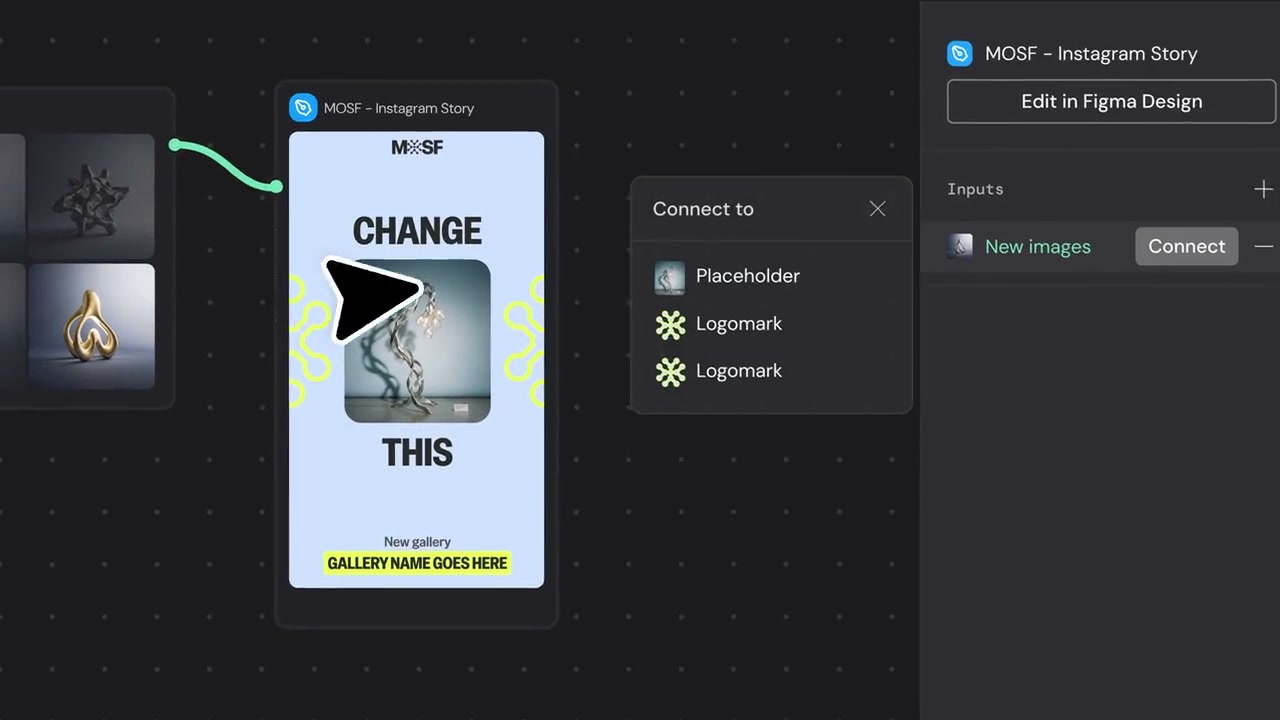 0:14
0:14A "Connect to" menu lists Placeholder and two Logomark options next to the frame.
 0:25
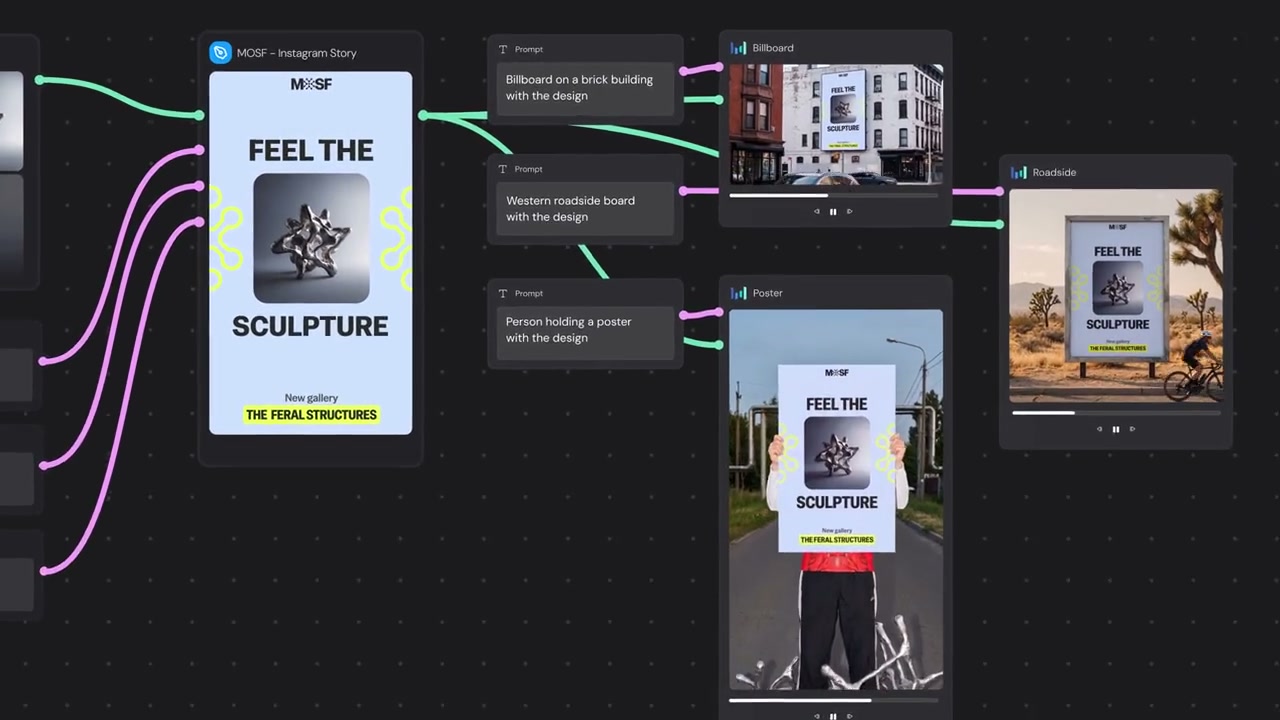
0:25A full graph of image and text nodes feeds a "FEEL THE SCULPTURE" layout, with rendered mockups on the right.
 0:27
0:27On a pink background, the Figma logo connects to the Weave logo with a dotted line.
Make one like this
Take the prompt into Clueso and change whatever you need.